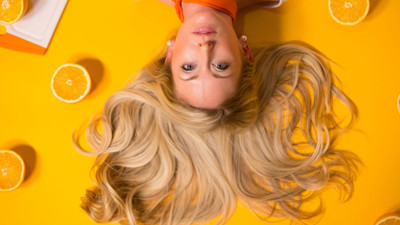
It all seems so easy: turn your curling iron on, wrap your hair, et voila, you have a head full of fantastic curls. It is not easy, au contraire! While most women have a curling iron, many experience that their hair can’t seem to hold a curl. If you’re one of these women: don’t worry, you’re not alone! There are so many things that you could be doing wrong, that you can’t see the forest for the trees. To help you get past this and enjoy carefree curling, here’s a step-by-step guide on how to use a curling iron so you can curl like a pro. And remember: practice makes perfect!
How to use a curling iron
To get a head full of gorgeous curls, here’s an easy to follow step-by-step guide on how to use a curling iron.
Step 1 Choose the right barrel size for your hair length
Before you buy any curling iron, there are a few things you may want to consider. Do you prefer a curling iron with a clamp or a wand curling iron? A curling iron with a clamp has a clamp that helps hold your hair in place as you curl. A wand curling iron has no clamp. (you probably figured this out yourself. :) )There’s no good and bad; it all depends on what you prefer and which you find easier to use.
Now it’s time to choose the right barrel size. How curly do you want your hair to be? If big, bouncy waves are your thing, a barrel size of at least 1’’ is your go-to. Are you more into tightly wound coils? Then choose a barrel size of no more than ¾-inch.
Step 2 Wash your hair
Clean hair is the basis if you want to get perfect curls. Hop in the shower, shampoo your hair and apply conditioner. If you’re into the no-poo method, you can wash your hair using nothing but water. While you’re out of the shower and your hair is still wet, applying a hair mousse will create volume and keep the frizz away.
Step 3 Dry your hair completely before curling
Curling hair that’s still slightly damp will fry your hair. We know, not good. Prep your hair before you blow-dry with a heat-protectant, then spray it with hairspray before you start curling. The results will be phenomenal, we promise.
Step 4 Choose the right heat setting for your hair type
The hotter, the better? Ehrm, no! The temptation to use the highest heat setting on your curling iron is hard to resist since you want your hair to hold the curls. Well, the truth is that a hotter temperature may set your hair faster, but it definitely damages fine, dry, or colour-treated hair. It’s best to keep the heat lower if you have processed hair and want to keep your hair as healthy as possible. How do you find the proper heat setting for your hair? First, you test out the lowest heat setting possible to see what type of curl it creates. From there, you can adjust the heat setting to what you need. No matter your hair type, always use a heat protectant if you want to prevent damaging!
The best temperature to curl hair
- Fine and delicate hair: Lowest setting to 280 F
- Thinner curled hair: 270-300 F
- Normally textured hair: 310-360 F
- Way or curly normal thick hair: 350-385 F
- Coarse and very thick hair: 375-425 F
Step 5 Divide your hair into sections
Now it’s time to divide your hair into 2 or 3 horizontally-stacked layers depending on how thick your hair is. A hair claw is perfect for holding the top layers away from your face while you curl the bottom.
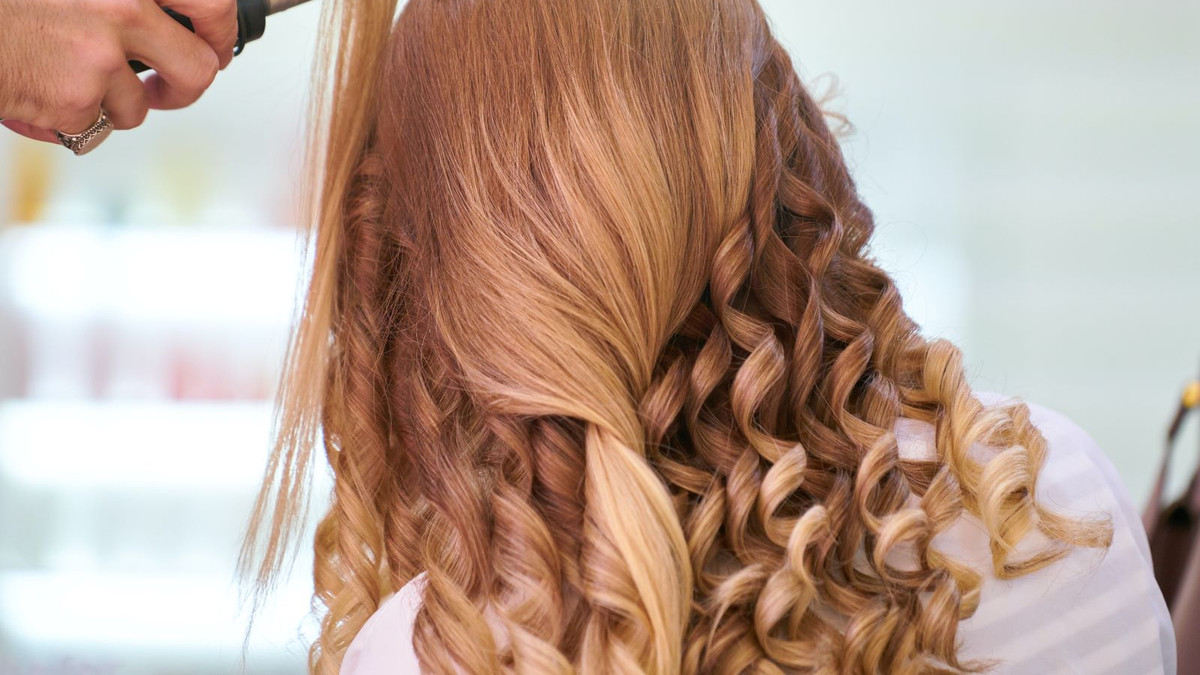
Step 6 Time to curl your hair!
Start on the right side of your head if you’re right-handed. If you’re a lefty, you start on the left side of your head. Now grab about an inch wide section of hair and slip it between the barrel and the clamp. Always start somewhere in the middle of the strand!
Gently glide the iron down the strand twirling the hair across the barrel. When your strand is all warmed through (after 10 seconds max), slide it off the iron. Let the strand cool down for at least 5 seconds. Please avoid pulling the iron out and letting your curl fall, let alone yanking at your curls. This will only cause the curls to lose their shape.
If you want to prevent your tresses from snagging and damaging, it’s best to hold the iron on your hair for no longer than 10 seconds. It may seem too short, but it’s long enough for the curls to set.
Step 7 Shake it!
Have you finished curling all your hair? Good job! If you want a natural finish, flip your head over and give your hair a good shake. This will loosen up your hair and give you a gorgeous, natural-looking finish.
Step 8 Set your curls
To keep your hair looking amazing all day -and night-, lightly mist your hair with a hairspray. This will keep your curls soft and bouncy, and give you a glamorous look. Don’t overdo it, and avoid saturating your freshly curled hair with hairspray if you want soft and bouncy hair.